
I decided that after much request from my gorgeous dolls out there that would try my best to put together in depth post on how I press my eyeshadow pigments or eyeshadows I may have mixed and made to whichever color I may have wanted to achieve. Heads Up it will get detailed and Picture heavy so please bare with me gals , but trying to cover all my bases here.
So to Start I learned about a company called TKB Trading through a few you tube videos i had watched on there Micas. Now the Sell an array of different items for those seeking to start making there own Mineral anything. You can Make, Lipsticks, Polish, Foundation, You Name it.
Now Lets Begin with what you will Need and why:


These Are My Holy Grail Items for Pressing I prefer them over the Quarter Any Day!!!!


So to Start I learned about a company called TKB Trading through a few you tube videos i had watched on there Micas. Now the Sell an array of different items for those seeking to start making there own Mineral anything. You can Make, Lipsticks, Polish, Foundation, You Name it.
Now Lets Begin with what you will Need and why:

- 91% Alcohol ( Higher the Percentage it is more drying)
- Empty Jar
- Glass Dappen Dish
- Pressing Tile with Handle Preferably
- 26 MM Eyeshadow Pan (Note they also sell the Tile no handle though for the 26mm)
- Eyeshadow Pigment of Choice No Large Glittery Chunks will explain Later)
- Pressing Medium from TKB or Coastal Scents has one Pressing Medium Some People use BioSilk also. I just wouldn't use anything for my Hair for on my Eyes but thats just me! lol
- Tooth Pick
- Scoop
- Q-Tip
- Pressing Ribbon
- Cosmetic Spatula
Now to Further Explain Using Alcohol alone can work at times but I have fond that by using the Pressing medium in Conjunction with the Alcohol helps bind everything together better for Pressing . I believe that some have said that it is because of the Dimethicone in the pressing medium .
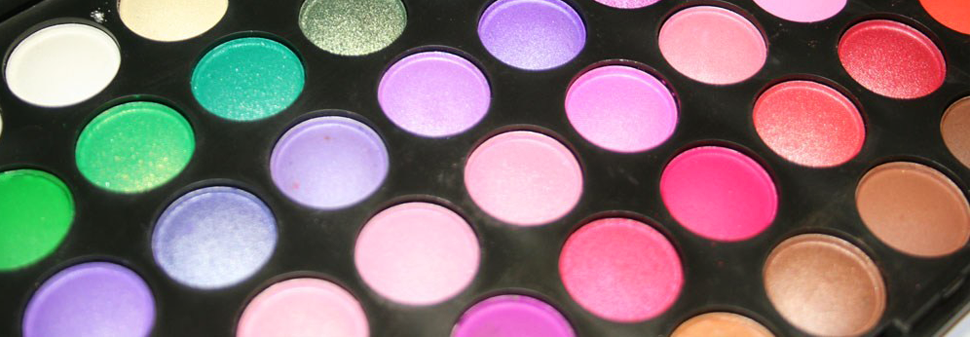
Now most of the Eyeshadow Palettes out there are usually 26mm round unless of course you see the Wet n Wild ones that are Rectangular, Inglot has Squared so on and so forth.
Most Mac Palettes are 26mm Rounds just as an FYI If you are using one of there Palettes.
The Pigment you choose should not be super sparkly or have lots of glitter. The Glitter will not Bind as well and after you pan has dried overnight Completely falls apart after you put a brush to it. Well at least has happened to me and I have heard of others say they have the same problem
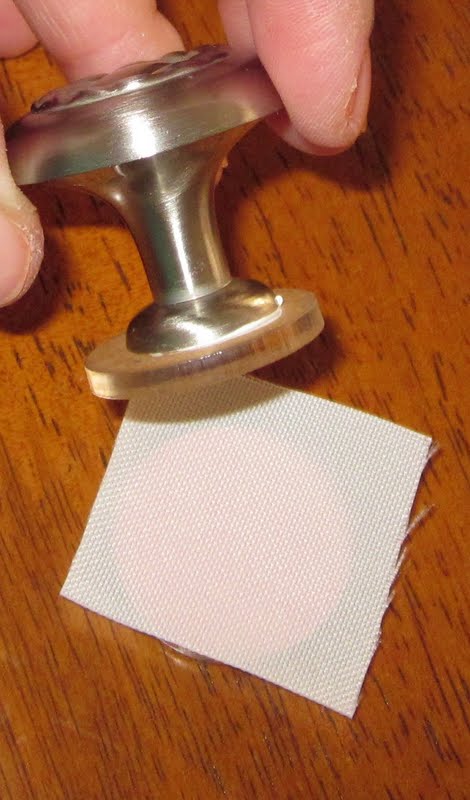
The Pressing Tile:


Like I said before they TKB does sell the 26mm pans along with the pressing tiles but for whatever reason these pressing tiles did not come with a handle. The Square one Did but not the Round .
So Ladies let's use that Beautiful Noggin and Figure out How to Remedy the Issue... Go to Home Depot, Lowes and Stroll down the Kitchen Cabinet Handle Aisle. You Will find an array of Different Cabinet Knobs, Handles ETC. I Used a Cabinet Handle and Some Serious Glue and Bam just like that I had me a little Handle Ha Ha HA!
I Can not live without this!!! AMAZING $1 per Yard!!!!!

**You can use a pice of Fabric or anything with a pattern also**
So Now you Have everything you Need So Lets Get Started:
Begin By Filling your Dappen Dish with Alcohol:

Grab Your Q-Tip and Dip it in the Alcohol:

Sanitize the Pan you are working with Especially if you are making it for someone else!

Take Your Scoop and Scoop out Some of the Loose Pigment you will be Using:

You will be adding the Scoops to whatever Jar or Dish you Have chosen to Mix in :

I personally don't go more than 4 scoops at this point I have more or less an Idea of how much I am working with now:

Take your Pressing Medium:

I do no more than 2 Drops ( Too Much will Clump) Its a Bit Greasy you don't want an Oily greasy Shadow Yuk!

Now you will Add with your Dropper some 91% Alcohol:


Now with your Spatula you will Mix it All together:

Now at this point you can see it has all Clumped up together :

Add a Few more Drops of Alcohol to thin it out a bit but now I am too Runny sooo...

Add A bit more Pigment till you get the consistency of wet Sand or Whipped texture:

Now We are Ready to Pour into the 26mm or Whichever Pan you would like:


Consistency we are looking for:

Ok so Now We need to add more pigment to the pan one because it is too wet and two because if I let this dry with only this much in it when I go to press will not be a full pan after its flattened


Now with your Tooth Pick Mix the pigment into the rest of the pan carefully but make sure to incorporate it all !

Take your Pan and Carefully give it a few Taps and drops onto a flat surface to get any bubbles, lumps or anything out before letting it sit to dry for at least 20 mins!!!!!!

Ok so as the Jeopardy Jingle Sings in your Head this is what you want after 20 mins

Now the Fun Part Pressing!
Cut a Piece of Pressing Ribbon Enough so that when you press there is still a little extra around the Pan:
Line up the Pressing tile with Handle with the Pan:

Now Scream, Grunt, Do Whatever you Have to do do Push and Press the Hardest you Ever Have in your Life!!!!!!!! No Seriously Hard!

You Catch my Drift I mean HARD! ha ha ha

As your Pressing the Excess Alcohol will Come Out Leaving the Ribbon Wet like so:

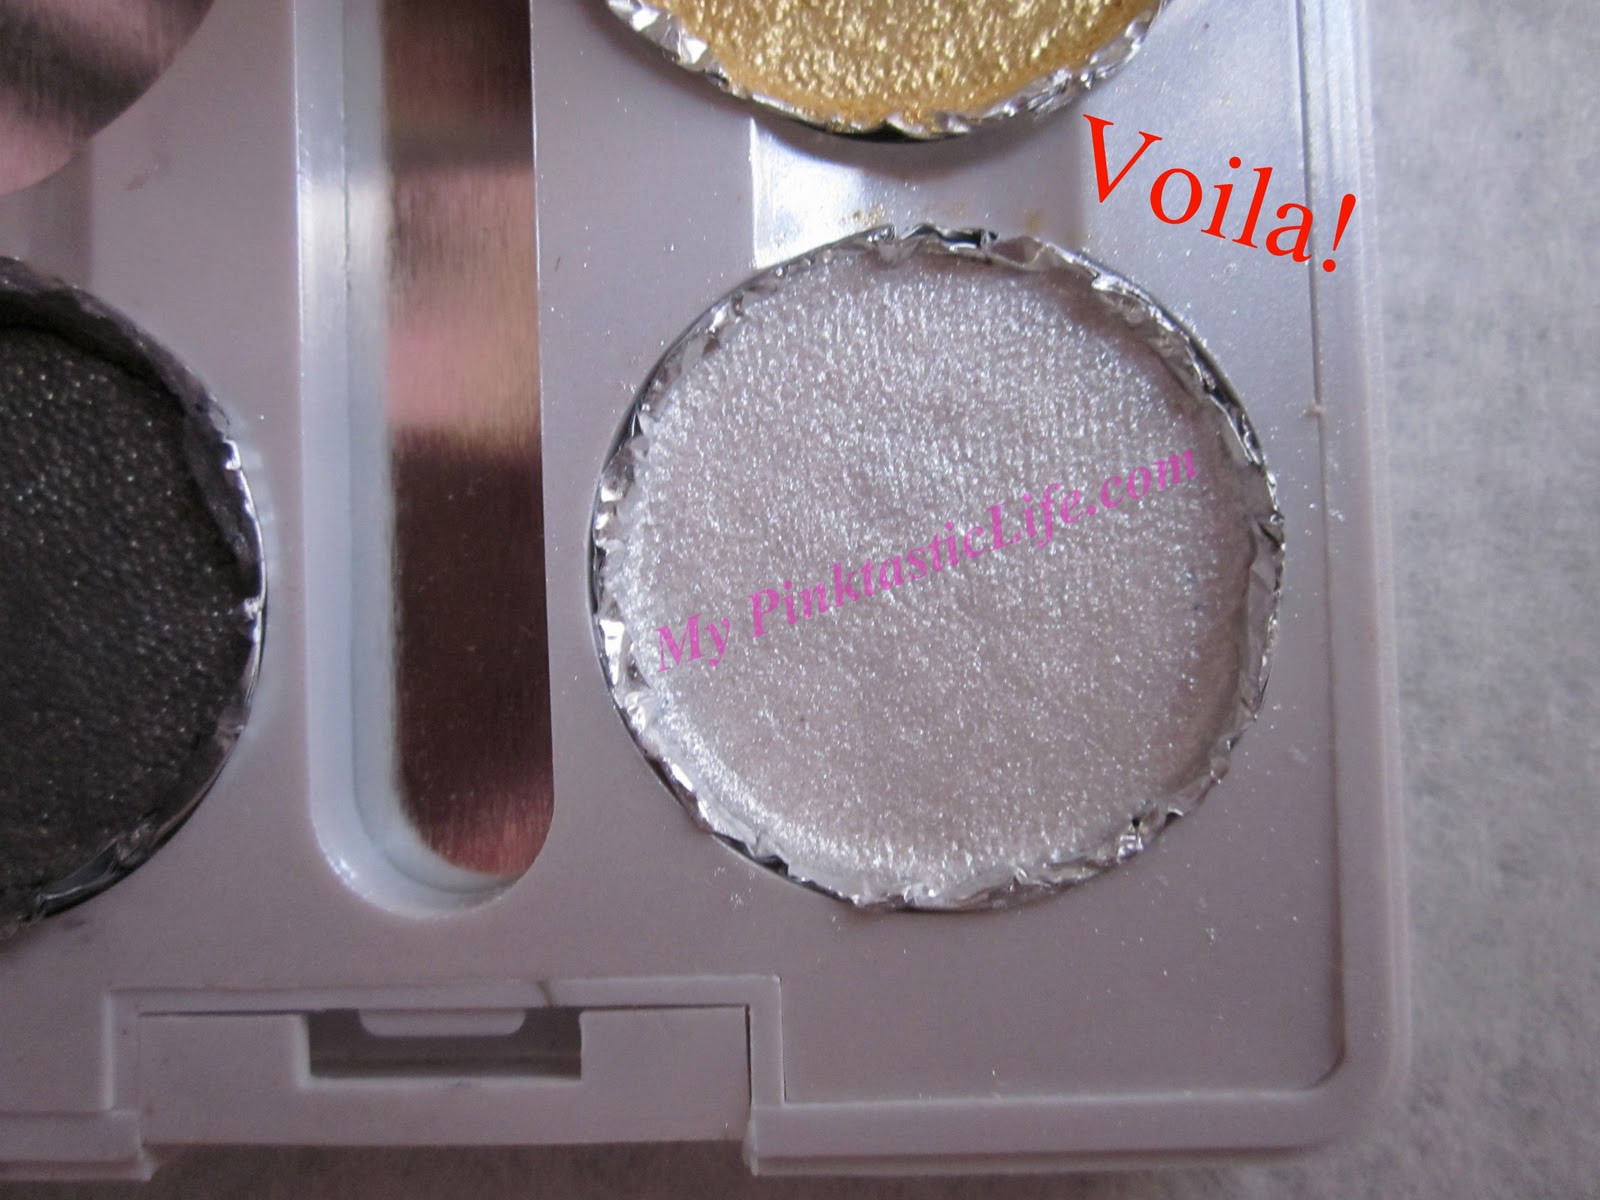
Peel Off the Ribbon and this is what you are left with:


This Lovely Palette is for my Fellow Blog Buddy and My Hello Kitty Giveaway Winner Wifezilla Hekela Hope She will Like!
Some other things you can do with your Pigments is to make the Matte if they are Shimmery:
Top Actual Pigment
Bottom Mattified Version

Now once again the Color isn't quite showing up like I would like it to but you get the idea. Using the Matte Texture Base for Eyes incorporate some of the Shimmery Pigment with some of this texture Base and Mix till you get the color and finish you would like. Bare in mind because it is a white Powder it will lighten the color you are originally using.
Now I am no Professional by any means or claim to be a Chemist in any way shape or form. TKB Trading is an amazing website that lets you learn and takes the guess work out of making mineral makeup. They even have recipe books, instructions, videos you name it. Wouldn't hurt to learn a few things on your own about different ingredients and how to use them .
I have only been able to mix about 10 or so colors of my own because it is very time consuming and being I am as Anal and OCD as I am with everything I like things to come out a certain way and look there best . The Items Are super cheap especially the MICAS! You can fill a 30 gram Jar with one of there sample bags for $1.50 each and its actually more product than the Mac Pigments!!!! Just thought you should know!!!!!
I know of so many people and companies that use TKB Trading for there business and now I understand why from Jars, to palettes, anything you need! Shipping is pretty good here to NJ at least and its only $6 if you want it rushed . There is a $15 minimum for purchase.