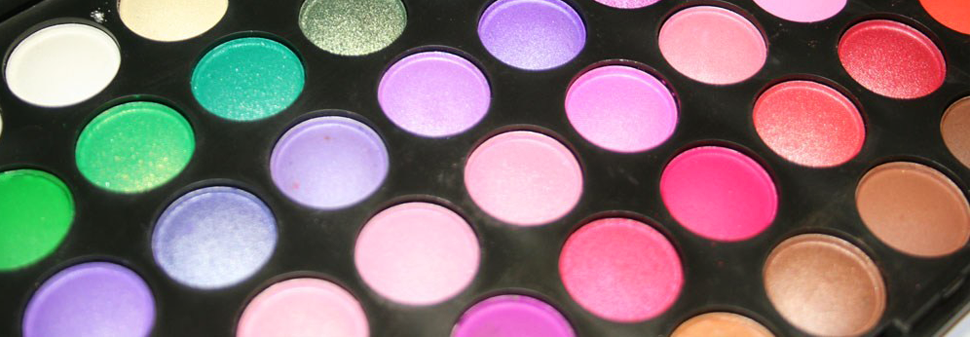
Hello my fellow beauties. Is everyone Excited for Super Bowl? Wish I was a Sports Buff but I am a typical woman when it comes to sports lol. Anyways I decided to work on a little project that I had been hesitant to start because I was afraid the quality of my pigments wouldn't be as great if I pressed them. Not to mention if you have a gazillion pigments like me it can be a time consuming and tedious project. So I decided to start w a few that I had to see how it would turn up.

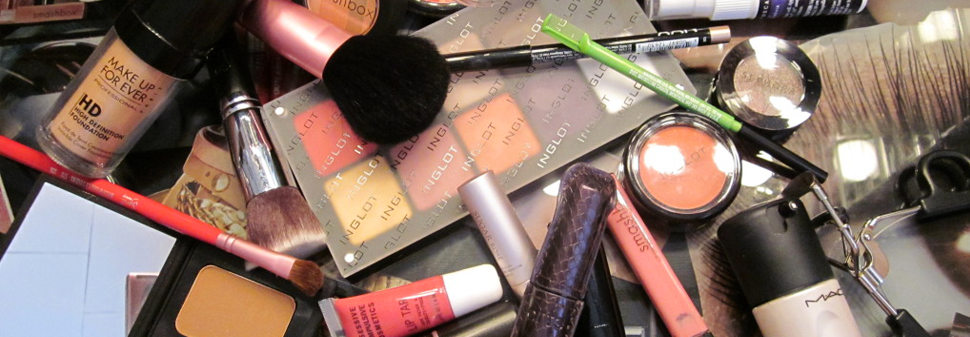
Items used (if you cant read the small font lol) Sorry about the snapple in the back not part of tools needed lol
- Aluminum Foil ( Heavy Duty is Best)
- 90% Rubbing Alcohol ( This dries faster )
- Dappen Dish to Dispense some Alcohol
- A Dropper
- A Quarter ( Perfect Fit for Molding the Shadow Pan)
- A Piece of Fabric ( I prefer a T-Shirt)
- Any eyeshadow Brush
- The smallest scoop you could Find Scoop
- Pigment of Choice
- Q-Tips
- ELF Eyeshadow Quad or any empty quad you have
- ToothPicks ( forgot to put in the pic)

Ok So we begin with the Aluminum Foil. Cut a small piece and Fold it 3x into a square.

- Cut a piece of the Foil and press into the shadow pan in the Elf Quad.
- Grab the Quarter wrapped around the Fabric and Press. This will begin to make the perfect form for the pan
- Now see those free edges, begin to fold them away so you can form the pan better.
- Remove the Pan and trim away any excess fro the pan as neatly as possible.


- Now with the end of your brush smooth the bottom gently so as not to tear the foil. Smooth the sides on the inside of the pan as well as best you can.

- Now take your Q-Tip and Dip into the Alcohol. ( do not do this in the bottle because you may be double dipping and do not want to contaminate the whole bottle of alcohol. Therefore dispense some in a dish)

So now we are ready to start filling the pan!


Her we add a few drops of Alcohol

After incorporating all of the pigment its a bit runny, so we add a little more pigment.

Mix the rest of the pigment....


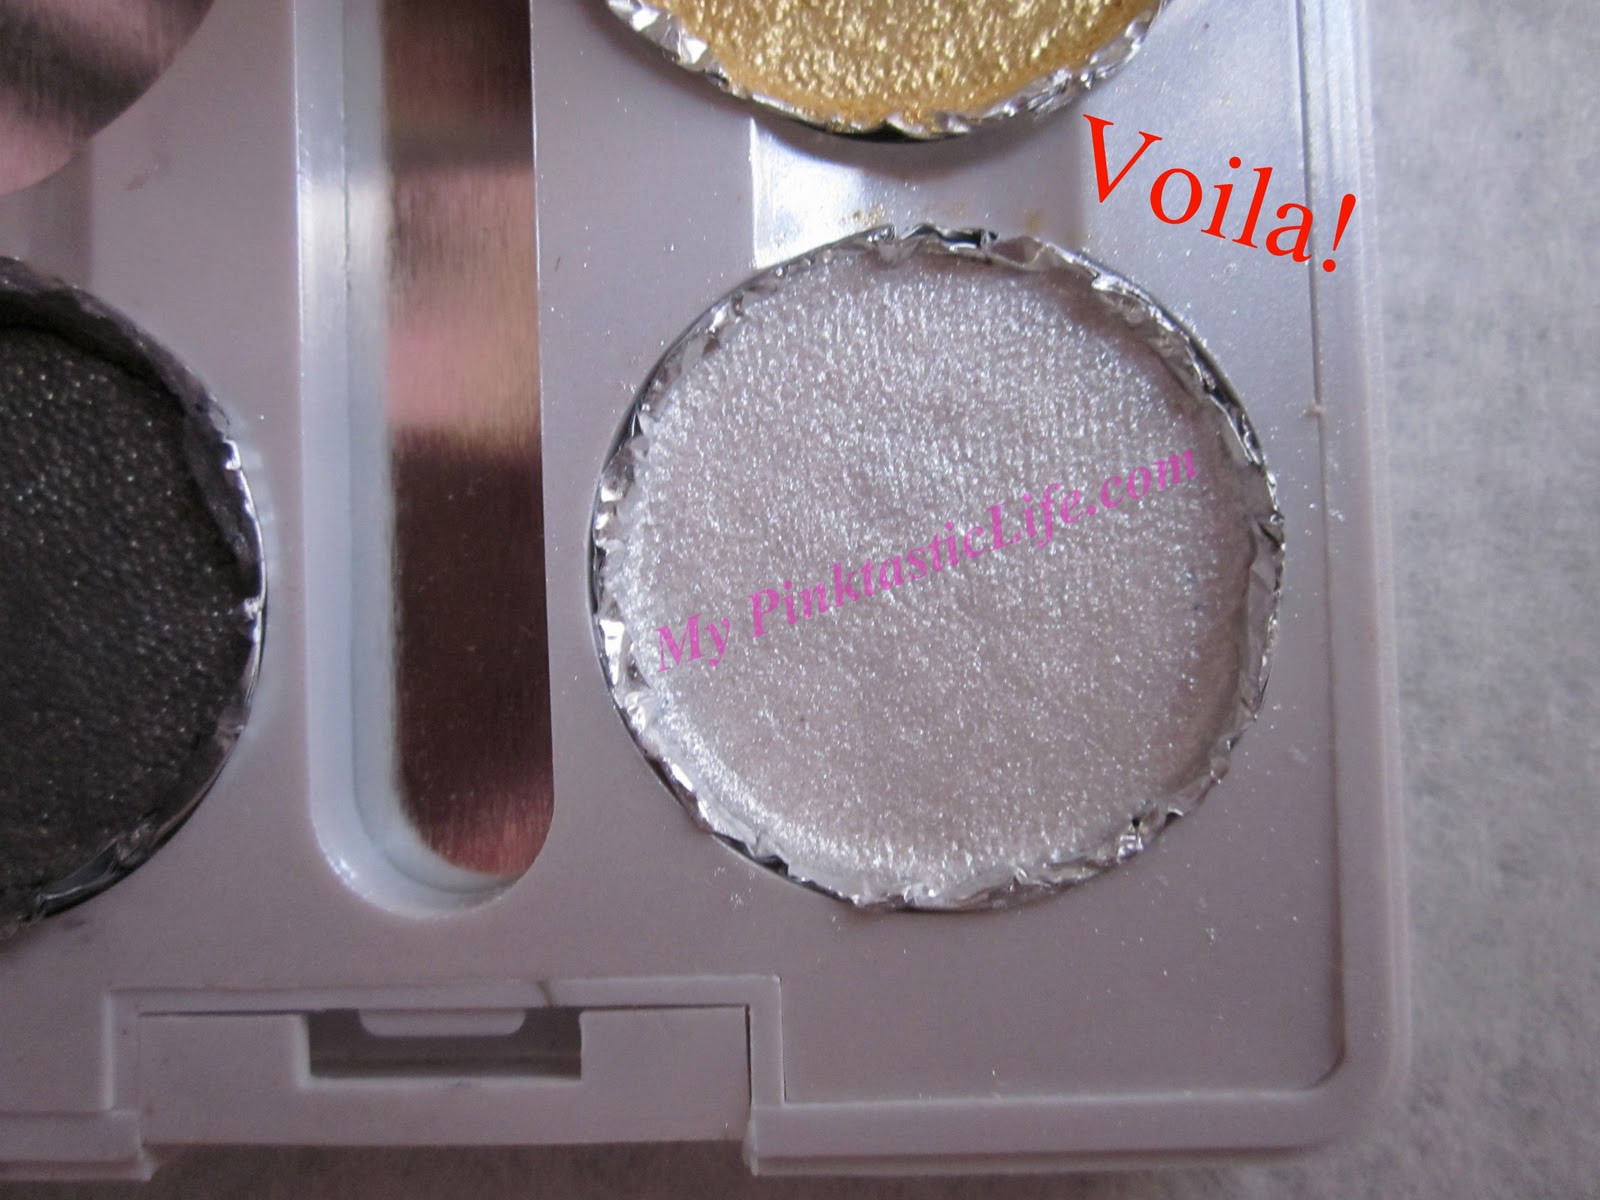
I would give this at least 24Hrs before using it. This way it gets to fully settle overnight and you can use it the next day!
So overall I enjoyed doing this little project. I do not own any Mac Pigments so I was only able to do this with larger jars . I used the Jesse's Girl Pigments. I do not think I will able to do this with my Leishi Pigments because it isn't enough to fill a pan. But I am gonna try anyways LOL
I also decided to get creative with the pan because I did not have any empty pans. Coastal Scents and a few other websites do sell empty pans Eyeshadow Pans.
I am dying to try the idea of making my own eyeshadows and possibly other makeup hmmm I may be on to something here Light Bulb! lol
They sell them already magnetized or you can just add your own. I will probably purchase a few . This will fit in any Mac pan or Z-Pallete as long as you magnetize the foil 1st of course.
Hope you all have fun with this hoping to get some Mac pigments in the future. So I try to cut corners wherever I can Budget Beauty!


This is really cool! I think they look great.
Fantastic job, Miss Cathy. Love it. I only have 2 MAC pigments and the ones you gave me. I'm really loving pigments and I fully intend on buying some more. I definitely want to try Jesse's Girl products. Thanks for this post. Very fun and interesting. :)