Hello Everyone I hope you all are having a wonder 4th of July Weekend. Today I worked on a blog post that many of you have requested and it is by far my most favorite posts because I know it is something my readers will enjoy if they asked to see it themselves.
First Things first this was inspired by something I had seen online. I saw a similar type of container and the person was selling them for around $30-50! Now for the sake of argument and well I don't want to stir up any animosity, I decided heck I can probably do this myself for even cheaper! I understand everyone has to make some money off of what they are making or selling so for that reason I have not included the site and as a matter of face I since a year ago haven't even been able to find it to be honest.
What you will Need:
- A Glass Container, Vase, of your Choosing ( Got mine at Ikea for $3)
- Hot Glue Gun
- Sequins of your color choosing from Craft Store
- Scrap Book Decorations or Crystals
- Beauty Related Magazines ( Cosmo, Glamour, In-Style My Faves)
- Double Sided Tape
- Modge Podge ( Optional)
- Scissors
- Crystal Vase Filler, Beads, Pebbles whatever works for you , I prefer Filler
- Creativity, and Patience! :-)
So Let's Begin:
First off I went to my Local Michaels, and AC Moore Craft Stores and I never enter there without my 20 or 40% off coupon! I mean why pay full price if you don't have to right? So I bought the Crystal Filler, and the Sequins from there.
With the Coupons I believe I paid $5 for the Filler and $2 for the Sequins Ribbon.
Vase from Ikea $2.99
They are nice and Sturdy and come in a variety of Sizes too!
Hot Glue Gun $6.99 at Walmart
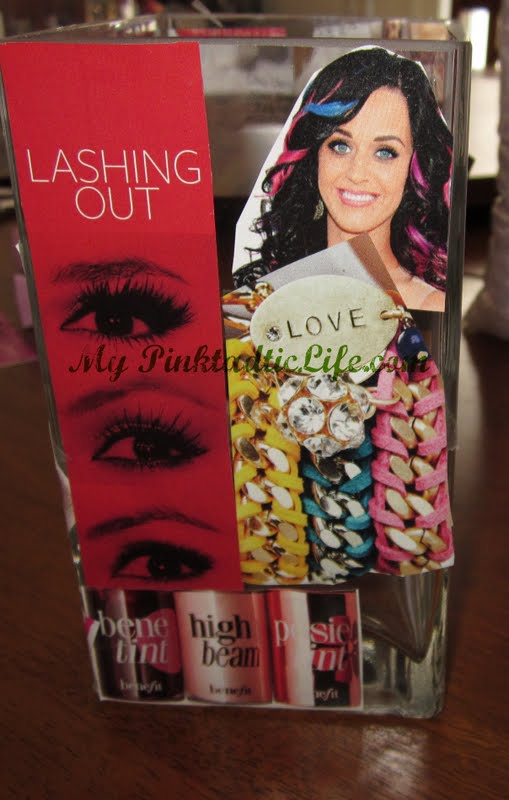
You want to go through your magazines and pick out any Pictures, Sayings, Colorful Designs, you may like and cut them out:
I keep a Zip Loc Baggie of some I have done in the Past for future use.
Figure out what you want to be the Center Focus of your Holder:
Ok so now Flip the CLipping over and add the double stick tape.
Reason I prefer double stick tape to regular tape is because with regular tape when you fold it you can't really flatten the paper well. Makes it bubble out and lift on the corners.
Now Adhere the Clipping to the Center of the Holder like So:
Now you can work around this however which way you want. Be creative and I like to add as much color and patterns. Also Super Important to press down firmly and make this stick as flat as possible no lifting corners!
Now the Sides are Optional because they will hardly be seen. If you will have them all next to one another like I do the sides will never show. Only the 1st and last holder will depending on your set up.
What we don't want. Make sure when using the tape you get close to the corners of the paper so there in no lifting like here. Otherwise over time if you move your holders a lot they will begin to look messy and wrinkled.
Completely Optional Step!!!
At this point once you have the entire thing covered like you want to make the clippings stay intact or protect them from wear an tear you can put a light coat of Mod Podge all around. Important to do a thin layer otherwise paper will wrinkle up and there is no way of fixing once it is applied. I opted not to do this step because I rarely move mine around and just liked it the way it was.
Next Step Measure around the Holder with the Sequins and Cut as much as you need.
You want to apply a bead of the Hot glue right at the edge where my watermark is. You want to work quickly because it will dry fast on the glass vase !
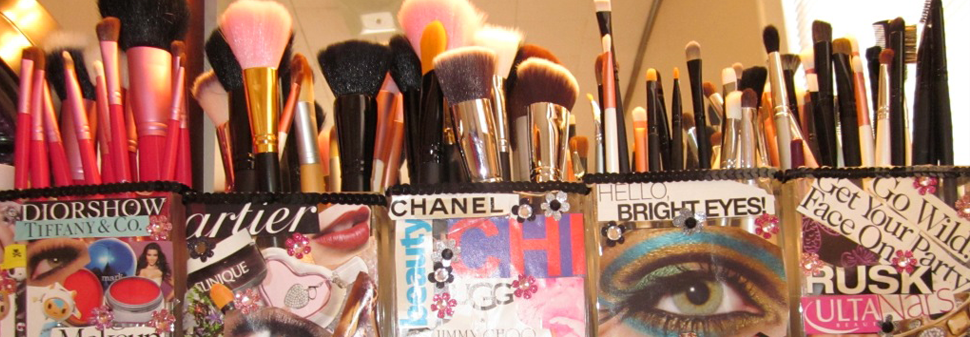
The End Result:
Now take the Crystal Vase Filler and Fill 3/4 of the way. For me if I do less my Brushes Flop around makes me Batty LOL!
My Holder now joins the rest of it's family:
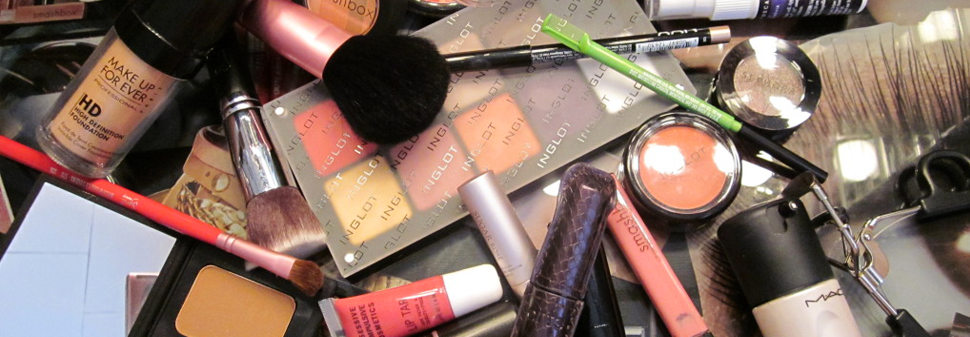
I have some Washing to do as you can see and they Needed another Home
Another Option I use to do is Use my Coastal Scents Brush Guards to Protect them from Dust etc.
I did that for a while but I got tired of having to remove the guards they would be everywhere and I really couldn't see the brushes too well when I went to look for them . But it is an idea that may work for you!
I still use them frequently whenI feel some brushes need a little more TLC
Some other ideas for Brush Holders if you don't want to go through all this work :
Decorative Boxes from the Craft Store that are used for Gifts etc
You Can just cut the Flap Off and use the Container already with a design and fill with the crystal filler, or beads.
You will need to Fill these a bit more and the Smaller boxes I think are better for the Eyeshadow Brushes because they aren't as heavy and won't tip over.
Option 2 Bigger Box for the Bigger Face Brushes Etc:
This will take at Least 2 Bags of filler if not more I think:
This was only 1 Bag so you can see the brushes will fall because there isn't enough filler to support them.
I absolutely love these boxes and use them all the time for different projects. They come in different sizes, shapes, designs, and with coupons aren't too bad depending on the size you get.
I hope this was helpful to you all. It was fun doing and I would love to know what other posts you would all love to see.
Next Posts:
Sigma Dry N Shape
Lime Crime


Those are so cute! I love that you added those pictures/words. Make me some! Lol.
www.dgsbeauty.com
Very cool & sooo creative!! I love it!
@ D. Sadie Glad you love it I would love to make you some !
@ Dinorah Thank You so much
This is amazing and so creative, i love them :)
Love Christine ♥
this is soooo cool, i miss doing arts and crafts, this summer for sure!!
Your finished products are so nice. I like this idea because it is very personal--you put on them what YOU like! The little boxes are really cute too. I have a couple that I use for other things but I love 'em. Very cool post :)
How cute! I made my own recently too except I didn't decorate it. I just used bean bag filler (the round shape doesn't scratch the brush handles) and acrylic/plastic jars lol. Yours are much prettier/more creative.
This is brilliant. Thanks for the ideas!
I love to collage pictures! This is a great dIY project! I have something similar...but with vases and marbles. lol :)
lovesweetsurrender.blogspot.com
asinglestarinagalaxy.blogspot.com
Those look sooo good! And your brush collection....<3 I have just a glass container with the beads, but never even thought of decorating it until now!! Such a creative idea.
Valerie xxx
http://valbuhdeee.blogspot.com
Such a crafty lady! Love it!
Alicia
http://Chica-Fashion.com
:D You're so crafty! I love it!
I love this omg!! so adorable!!
Where did you get those pretty boxes?
@anonymous I picked them up at Michaels I believe!
This is a really good idea.
the-renaissance-of-inner-fashion.blogspot.co.uk