Welcome to my World of Beauty and Reviews!

I finally got my hands on the infamous INGLOT 10 Freedom System palette. I decided to play around with it today and came up with a look and I have to say these shadows are amazingly pigmented!

New Vanity Mirror!

It is incredibly bright and I think it came out Amazing!

Polish Hoarders Anonymous!

So the 1st step in any program is admitting we have a problem...

My 1st Mineral Eyeshadow Product

A palette made by Yours Truly!

Prev Next
A Post Without Image

February Faves

So here are some of the THings I am Absolutely Looooving this month!


This is one of the best Salmon Colored Concealers I have ever used. I have Incredibly dark Circles that I inherited form my Loving Dad, and for years I have searched High and low to find something that worked.


Before

After

Now usually I use the Salmon Concealer then I follow it with this over it:

Kat Von D Tatoo Cover Up ! It is awesome ! If it can cover tattoos I will cover my Circles with it! LOL

With my Rosacea I get a lot of cheek redness and this Serum from Target is awesome. The name brand is called Boots. I then Follow it with my Clarins Moisturizer and its amazing, not to mention how Incredible this stuff Smells I Looove it!


This is my Favorite Blending Brush Ever! The Sigma E40. Part of the New Make Me Blush Set


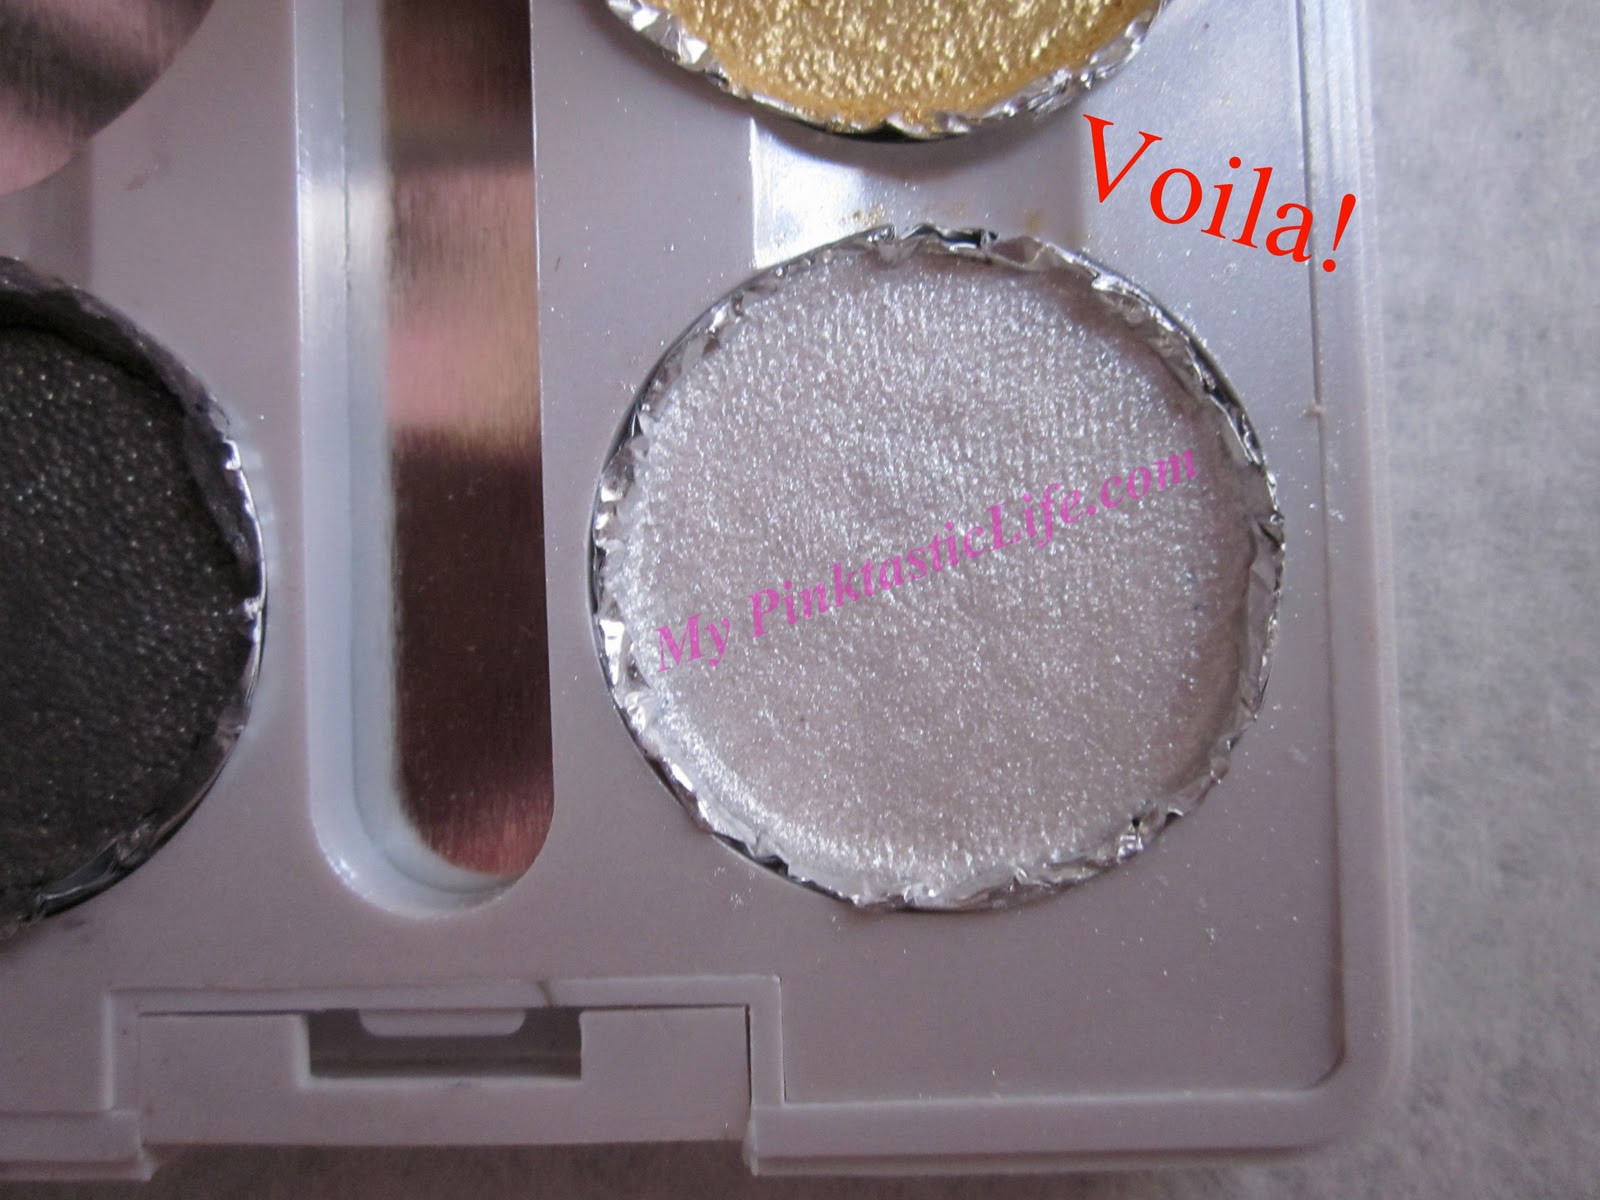
I received this as a sample from a company called Providence and Grace.
I found them on my new Favorite website http://www.etsy.com/
They have great lipsticks and pigments and I was sent this beautiful Forest Green Pigment to sample and it is Amazing .
It is incredibly unique because it has specks of Red,Blue,and Brown !


The Color on this Blush is sooo Pretty and Pigmented! 
Its 3-D PINK I mean of course I am gonna Looove it ha ha ha 


This foundation is great on my skin not too heavy and makes my complexion appear flawless. I didn't want to like this Foundation soo much but I did. I then use the MUFE HD powder over it.


I am usually an NC40 in Mac so Barcelona was my Perfect match for those that are curious.
This was a sample from Sephora that is so gentle around my eye and super moisturizing.


For my Massive Pores you can Practically Swim in this is a God Send!

I love how this Separates my lashes making them appear more full 

This is by far the Best Eyelash Curler I have used. for $1 you cant go wrong from ELF


Hope you all have a Wonderful Valentin's Day and hope you enjoyed my Faves!


A Post Without Image

New Vanity Mirror!

Hello my lovely bloggies. My Hubby and I made a trip to Ikea this evening to get a couple of odds and ends. We decided to look into a dreadful project that I had been wanting to accomplish and was never able to because of the difficulty we were having in the apartment we live in  The walls are very old and have what I think is Concrete behind the wooden panels. Yes I said panels ! I know but hey I work w what I have. So I had my eye on thisVanity Mirror:


I have been wanting this for like ever and well it comes w a hefty price tag. It comes in Black, Silver, and Pink. If you had to guess what color I was gonna go with then Shame on you!

My Hubby was so patient with me in trying to accomplish what I wanted and made it happen for me
What better than a Home Made vanity Mirror:


It is incredibly Bright and I think it came out Amazing. The picture does it no Justice whatsoever!
We didn't realize until the end that we never took down the pictures 1st but then we liked the way it looked behind the mirror.
We did have to add a plug to the light strip because it is meant to me wired electrically, we didn't know that it didn't come with a plug. At ikea the way they had it displayed lead us to believe it was a plug in strip. This did not come with the Bulbs Either. So after a short trip to Home depot we were able to get the bulbs needed and the plug accessory that hubby needed to attach to the ikea strip.
He ran the Power cord behind the mirror and I have a power strip underneath that I can just switch on/off.


From Up Close!


The Light Strip $14.99


The Mirror $9.99


So I am so thrilled that my Hubby did this for me . It has made such a difference in my little area and  even though it may not be Pink it means so much more that it was done especially for me!

A Post Without Image

Homemade Eyeshadow pan and Pigment pressing

Hello my fellow beauties. Is everyone Excited for Super Bowl? Wish I was a Sports Buff but I am a typical woman when it comes to sports lol. Anyways I decided to work on a little project that I had been hesitant to start because I was afraid the quality of my pigments wouldn't be as great if I pressed them. Not to mention if you have a gazillion pigments like me it can be a time consuming and tedious project. So I decided to start w a few that I had to see how it would turn up.

Items used (if you cant read the small font lol) Sorry about the snapple in the back not part of tools needed lol
  1. Aluminum Foil ( Heavy Duty is Best)
  2. 90% Rubbing Alcohol ( This dries faster )
  3. Dappen Dish to Dispense some Alcohol
  4. A Dropper
  5. A Quarter ( Perfect Fit for Molding the Shadow Pan)
  6. A Piece of Fabric ( I prefer a T-Shirt)
  7. Any eyeshadow Brush
  8. The smallest scoop you could Find Scoop
  9. Pigment of Choice
  10.  Q-Tips
  11. ELF Eyeshadow Quad or any empty quad you have
  12. ToothPicks ( forgot to put in the pic)
Ok So we begin with the Aluminum Foil. Cut a small piece and Fold it 3x into a square.


  1. Cut a piece of the Foil and press into the shadow pan in the Elf Quad.
  2. Grab the Quarter wrapped around the Fabric and Press. This will begin to make the perfect form for the pan
  3. Now see those free edges, begin to fold them away so you can form the pan better.
  4. Remove the Pan and trim away any excess fro the pan as neatly as possible.


  1. Now with the end of your brush smooth the bottom gently so as not to tear the foil. Smooth the sides on the inside of the pan as well as best you can.


  1. Now take your Q-Tip and Dip into the Alcohol. ( do not do this in the bottle because you may be double dipping and do not want to contaminate the whole bottle of alcohol. Therefore dispense some in a dish)

So now we are ready to start filling the pan!
Her we add a few drops of Alcohol
After incorporating all of the pigment its a bit runny, so we add a little more pigment.


Mix the rest of the pigment....


I would give this at least 24Hrs before using it. This way it gets to fully settle overnight and you can use it the next day!


So overall I enjoyed doing this little project. I do not own any Mac Pigments so I was only able to do this with larger jars . I used the Jesse's Girl Pigments. I do not think I will able to do this with my Leishi Pigments because it isn't enough to fill a pan. But I am gonna try anyways LOL

I also decided to get creative with the pan because I did not have any empty pans. Coastal Scents and a few other websites do sell empty pans Eyeshadow Pans.

I am dying to try the idea of making my own eyeshadows and possibly other makeup hmmm I may be on to something here Light Bulb! lol

They sell them already magnetized or you can just add your own. I will probably purchase a few . This will fit in any Mac pan or Z-Pallete as long as you magnetize the foil 1st of course.

Hope you all have fun with this hoping to get some Mac pigments in the future. So I try to cut corners wherever I can Budget Beauty!


A Post Without Image

EOTD ( Eye Of the Day)

On My Way to Part and decided to do a wearable smokey eye


A Post Without Image

New Nail Station

Hello my Fellow Beauty Bloggies! So recently my husband re did his "Man Room" and I inherited his old computer desk. It needed a little revamping but it is so much bigger than what I had.


I bought some Pink Marbelized Contact paper to spruce it up a bit and cover some unsightly areas.


I needed a different way to organize my polishes and I went to target and bought these Acrylic Drawer organizers. I was looking into a polish rack or stand but was too expensive. 


I stacked mine one on top of another and works great. I will probably hot glue or find a way to attach them because they are a little shake but work fine.


I put my old makeup storage to good use for all my nail stuff also.